
60 Days with the Dwarf 3 Smart Telescope

Typical of many of those from Generation-X, I have always been fascinated by astronomy and space travel. The Space Race was being won and moon landings happening as we were being born. As we were going through school, the Voyager probes and Space Shuttle programs seemed like just the next steps towards the future of conquering space and a “Star Trek future”! In adulthood, we’ve seen robots; actual dang robots, land on and explore Mars, and even one of Saturn’s moons. Then there is the Hubble Space Telescope, the amazing images it has captured, and incredible discoveries those images have enabled.

As someone who dabbles in photography, this interest in astronomy naturally made me curious about taking up astrophotography. But the wide variety of different kinds of telescopes, together with setting up the scope, and then calibrating it made the hobby seem too daunting to enter for me; and that doesn’t even get to attaching a camera. And then, several months ago, a friend of mine began posting some really detailed photos of the Moon that he had taken using a Dwarf Mini1 smart telescope from DwarfLab. With an “if he can do it…” frame-of-mind, I began doing some research into smart telescopes and ended up purchasing a Dwarf 32, and I’ve very happy that I did. I picked the D3 over the Mini because it was rated by DwarfLab to be stronger for taking photos of deep space objects, and those are what I wanted to focus on.

As you can see, this is not your typical style of telescope. It’s kind of closer to a very specialized and capable digital camera, honestly. As such, there is the occasional online chatter that smart telescopes are a bit of a cheat. It is true that they will not allow the actual photons emitted from incredibly distant objects to enter your eye and be directly processed by your brain. And a telescope+camera rig is going to be more capable for deeper shots. But, as a way of lowering barriest-to-entry for the hobby, as well as keeping current hobbyists with limited time engaged, smart telescopes are a magnificent development and are in no way ‘a cheat’. They just merge the optics and the camera together.

The Dwarf 3 itself comes in a very nice box, and includes a good carrying case, 3ft USB C cable, and a magnetic solar filter. This solar filter actually server two purposes. The first, of course, is to allow you to take photos of the sun without destroying the image processor. Second, and critical for astrophotography, is that the Dwarf 3 uses the solar filter to block light when capturing “dark frames”. These dark frames are necessary for optimal post-production of images, since the image processor itself is sensitive to temperature, as well as light. Astrophotography sessions can last several hours, and the Dwarf 3 will heat up throughout a session.

As for the included carrying case, it’s good and fits everything perfectly with a nice amount of padding. It does feel a little oversized, since it could actually fit two Dwarf 3 units. Ultimately that does limit the usefulness of the case, at least for me, to trips in the car. However, rather than carry an extra bag for air or train travel, I’ve found that the Dwarf 3 is compact enough that it slides very neatly into my backpack. Eventually, I would like to get a sock or sleeve that fits the Dwarf 3 and offers a little more protection for when I carry it in my backpack, but I have not found one yet. The USB C cable is no frills but gets the job done, and there are plenty of braided cables available from third-parties.

Completing my package, I also picked up the DwarfLab’s Mini Tripod3, which is compact and simple for transport and travel. It is a bit expensive, compared to other tripods. But as it is designed with the DwarfLab’s smart telescopes in mind and is solidly built, so it has been a good addition to my Dwarf 3. Using a standard screw mount, the Dwarf 3 can be paired with lots of other tripods as well.

Powering the experience is the DwarfLab app, which works pretty well considering how much it’s trying to do. It has an interactive stellar Atlas that allows you to select your targets, and includes options for simulating how your target will move across the sky over the course of a photo session, where you can find targets at a particular time, etc. The app is also where you set all of the parameters for the camera; shutter speed, filter selection, image gain, etc. This is also where you select photo sessions for creating mega-stacks of sessions, as well as for post-processing, such as noise-reduction, star reduction/removal, image enhancement, etc.
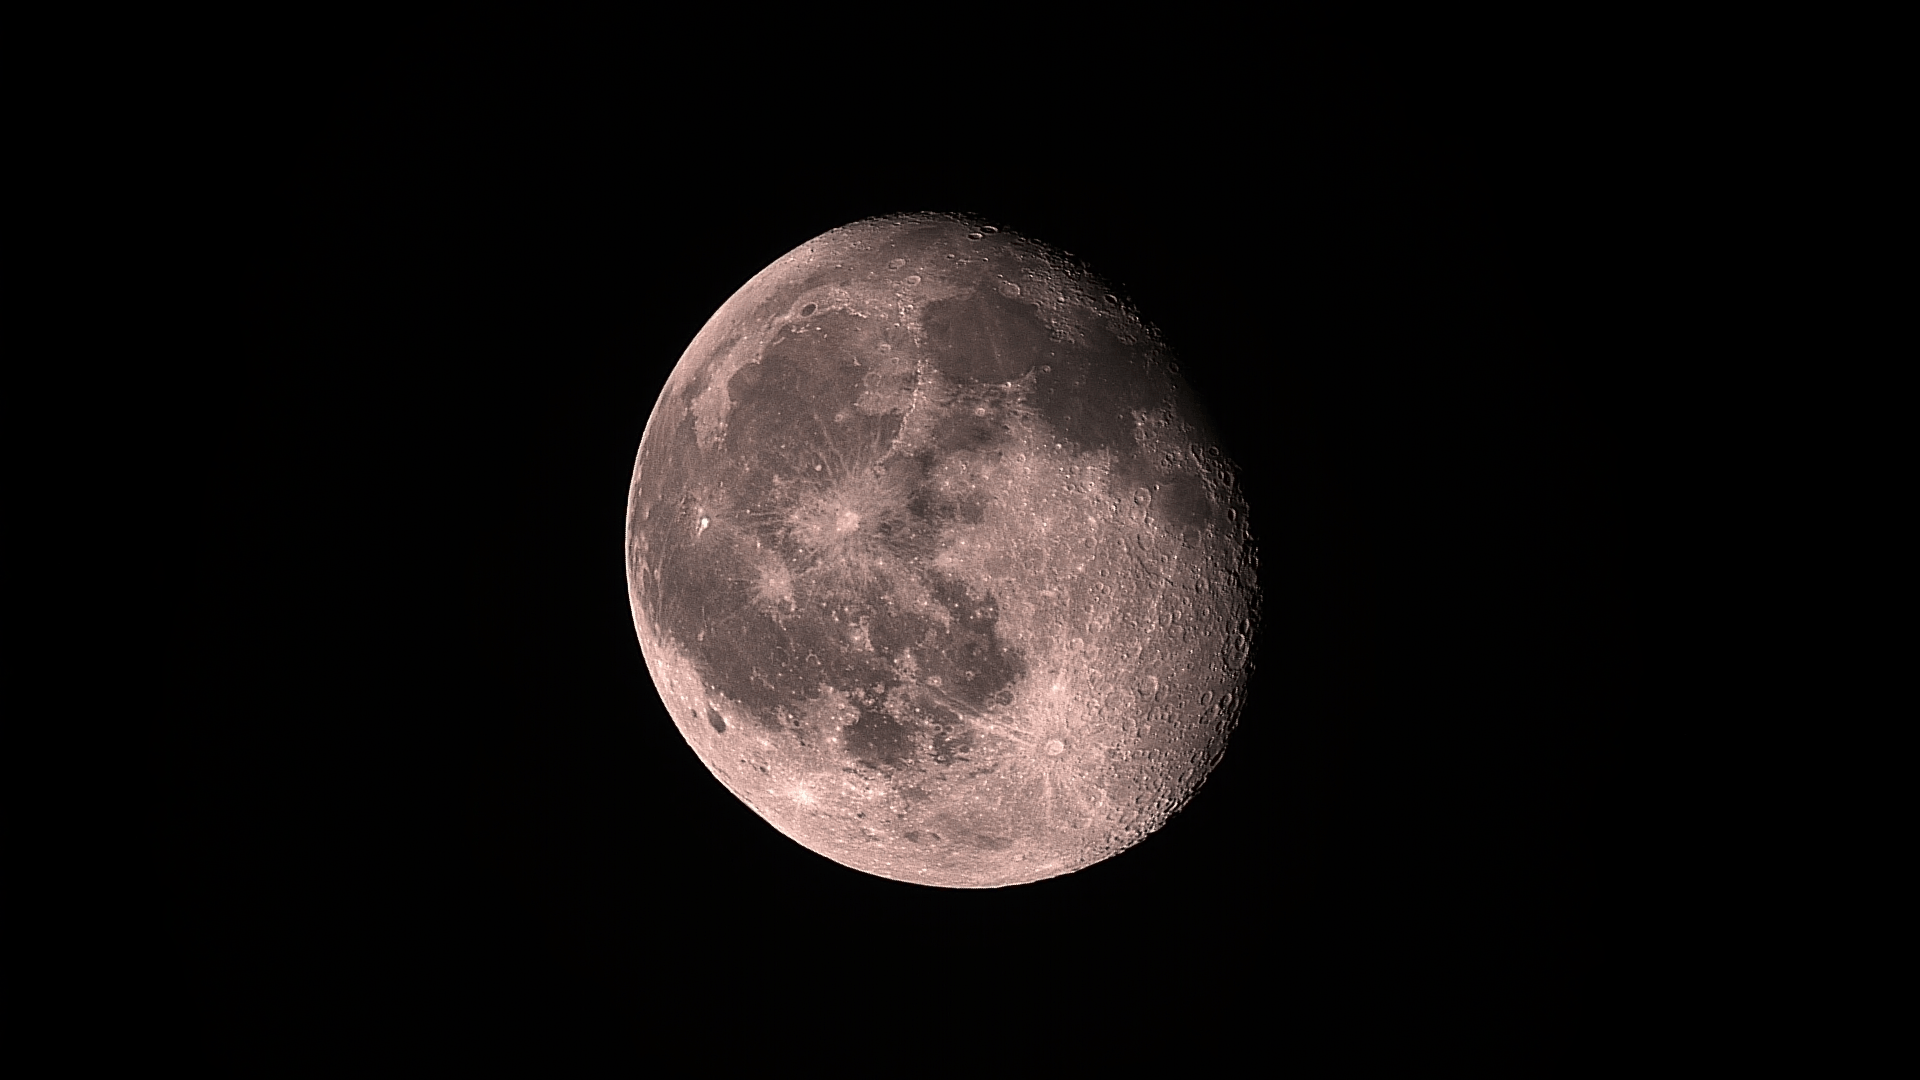
Taking photos of the Sun, Moon, and deep space objects is what the Dwarf 3 is optimized for. You can use it for imaging the planets, but details such as the cloud bands on Jupiter or Saturn’s rings are lost. So do keep that in mind.

Because deep space objects are typically faint, astrophotography relies on the concept of stacking, or layering, multiple photos taken over the course of a session. This is where the Dwarf 3 really shines, as it takes that on automatically. For best results, you can put the Dwarf 3 into equatorial mode, which is a simple and guided process in the app. This aligns the telescope with true north, in additional tilting it to compensate for the angle of the tilt of the Earth. Equatorial mode allows the Dwarf 3 to precisely track targets while minimizing star streaking. The DwarfLab app takes image stacking a step further by allowing Mega-Stacks using photos from multiple different sessions, captured over the course of multiple days, weeks, or more. Sessions need to be captured in equatorial mode and from the same physical location, but can include sessions using different shutter speeds.

Mega-stacks reward patience and diligence by maximizing detail in the final images, which you can see from the photos of the Crescent Nebula below. Those on the left are from the first session shooting the nebula. On the right, is a mega-stack from 3 sessions over 3 separate evenings. The mega-stack shows additional color and detail to the surrounding Cygnus Molecular Nebula Complex.


The Dwarf 3 itself handles the computing for mega-stacking, and depending on the number of photos being stacked, can take a some time. But this allows the Dwarf to do something during the day. Mega-stacking can take multiple hours, depending on the number of photos being stacked. Image post-production processing and enhancement is a mostly automated process where images are uploaded to DwarfLab servers in the cloud which handles the work. And, the DwarfLabs cloud does a fantastic job. But, if you would rather do stacking or post-production work yourself, you can always attach the Dwarf 3 to your computer via its USB C port. Doing so allows access to your session . FITS photos, similar to any USB drive.

DwarfLabs’ App has a number of automated selections for enhancing images, such as reducing, and even removing, stars. Filters like this can allow subjects like nebula to really stand out.


Having 128GB of storage, and then only about 120GB of usable space, creates some challenges when managing photos sessions containing multiple gigabytes worth of individual photos. Fortunately you can move folders of .FITS files to external storage and copy them back over to the Dwarf 3 for additional mega-stacking or post-production work later.

I have had a fantastic time playing with the Dwarf 3 so far, and find myself checking the evening forecast to see if the skies will be clear. As I mentioned, astrophotography rewards patience and the Dwarf 3 makes it simple to spend an evening taking a shots of one target for an hour or two, then switching to another for a bit, and then maybe another. Over the course of a week, you should have enough photos of your targets to stitch together some impressive mega-stacks. Set up of the unit itself, as well as putting the Dwarf 3 into equatorial mode, is an easy process where the app guides users through the steps.
Shooting “smaller” targets such as the Ring Nebula or Dumbbell Nebula, do test the limits of the 737mm equivalent maximum of the telephoto lens. Battery limits are the last thing users should be aware of with the Dwarf 3. I’ve found that the battery will last between 3 to 3 and a half hours. If you do not have a way to plug the Dwarf 3 into power, you will probably need, at least, a 10,000 mHa battery pack with a USB-C plug to supplement the internal battery. Even with these limits, I have been consistently impressed with the level of detail the Dwarf 3 is able to achieve, that I’m looking forward to seeing what DwarfLab brings to future telescopes.

DwarfLab’s Dwarf 3 Smart Telescope4 –
Pros:
- A reasonably priced entry into astrophotography
- Great image image sensor, paired with quality telephoto and wide-angle lenses.
- Produces some stunning photos of the Sun, Moon, and deep space objects, such as star clusters, galaxies, nebula, etc.
- I live close to a major metropolitan area with significant light pollution. The Dwarf 3 has been able to handle all of that extremely well.
- Simple and easy to use App
- Included carry case is a nice touch
- No subscription fees to use DwarfLab’s cloud servers for photo enhancements or photo sharing
Cons:
- The Dwarf 3 can run hot. And the image sensor is sensitive to heat, so the app may ask you to “take dark frames” often, especially if you change between different mixes of shutter speeds and gain often.
- Limited internal storage (128GB), and the Dwarf 3 will not (yet?) allow the camera to use attached external drives, so users taking lots of photos will need to find a solution for long-term storage of their photos. I am using a NAS myself.
- You will need an external battery for long sessions.
Verdict = Recommended!


