AMT’s Star Trek “Mr. Spock of the USS Enterprise” Model Kit

The collector’s tin box for AMT’s “Mr. Spock of the USS Enterprise” Model.
After recently building AMT’s “Klingon Battle Cruiser” model, I began thinking about my next kit. With the recent passing of Leonard Nimoy, I remembered a model I had built only one time as a kid, unlike the rest of AMT’s Star Trek model line-up, their “Mr. Spock” model. When I was younger, I found this kit really frustrating. Not because the build is complex, the kit only has less than thirty pieces. But, to get it to look anything like the box required painting skills far beyond what I had at 9-11 years old. I knew that building the “Mr. Spock” kit would be a challenge, but felt that would be a nice tribute to Mr. Nimoy.
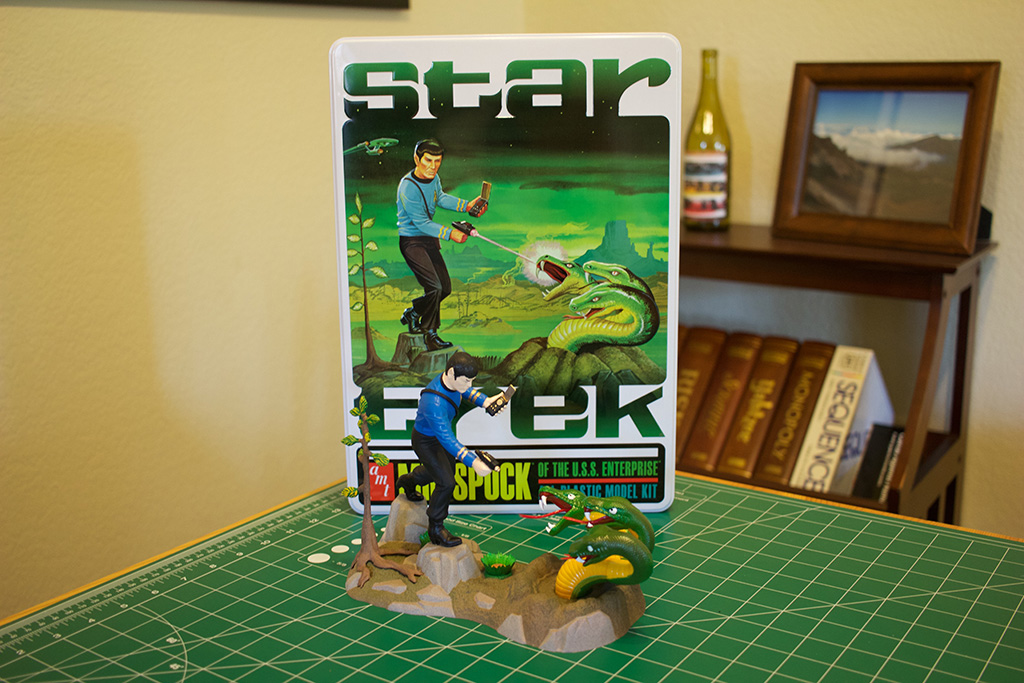
My completed “Mr. Spock” model.
Not everything turned out as I’d hoped. For example, the uniform blue is a bit too dark. But, overall, I’m pretty pleased with how the “Mr. Spock” kit turned out. Although I’m still a novice model-builder, I think my painting skills might have dinged with this one. I had to play around with some different airbrushing techniques, while wielding spray-paint cans, as well as spend a lot of time taping/masking. In the end, the results were totally worth it.
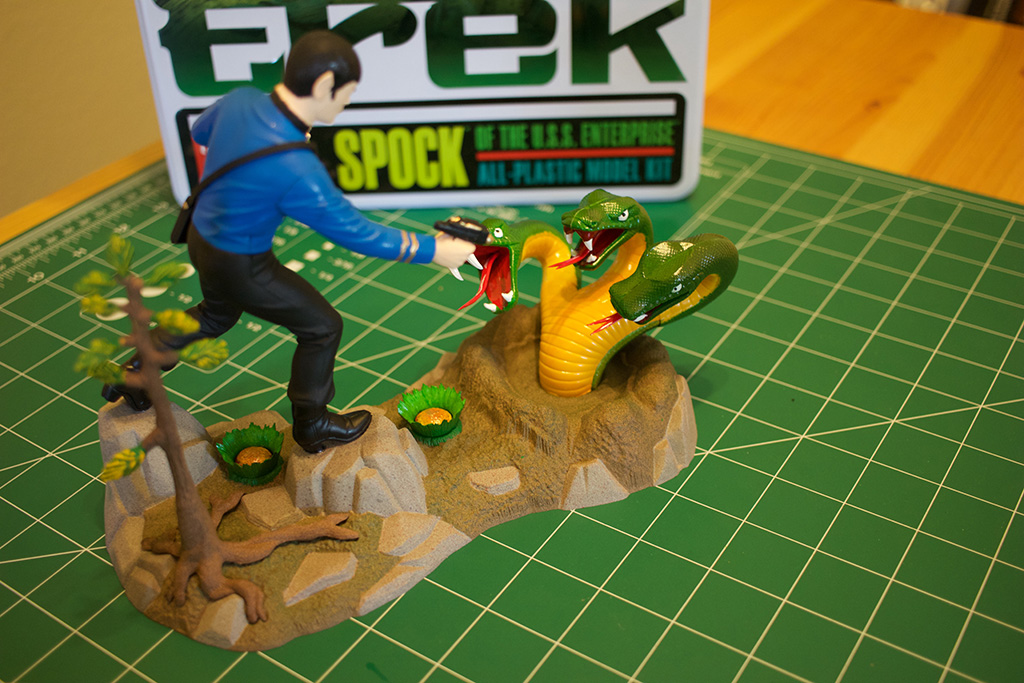
AMT’s “Mr. Spock” model kit.
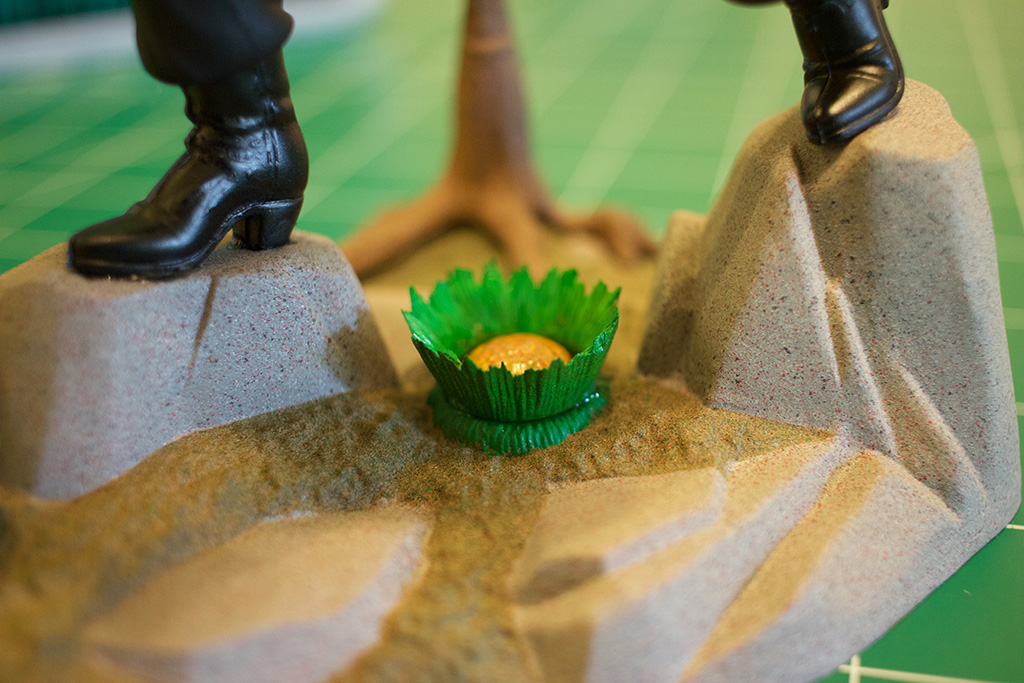
The kits instructions suggest to plant the base terrain yellow, and the rocks as a combination of brown and green. Instead, I went with browns and greens on the terrain, and tried to achieve a more grey-rocky feel with the stone. After taping up all the rock faces on the base, for paints, I chose:
- A base Testors FS 36622 “Camouflage Grey”. This is not grey at all, but a very light sand/khaki color.
- A few generous spritz’s of Testors FS 30219 “Dark Tan”.
- A few generous spritz’s of Testors FS 30140 “Light Earth”.
- A few generous spritz’s of Testors PF 34102 “Medium Green”.
- A light spritz of Testors 1224 “Gloss Green”.
- A very light spritz of Testors 1238 “Gloss Grey” and Testors FS 36251 “Navy Aggressor Grey”, for a sense of pebbles.

The tree roots from the “Mr. Spock” model kit.
For the small tree part of the kit, I went with the same colors as above, except dropped out the greens and the gloss grey, in favor of a very light spritz of Testors 1249 “Flat Black” as well as the “Camouflage Grey”, for a sense of texture on the bark.
Creating a sense of texture and realism with AMT’s “Mr. Spock” model.
For the rocks and stones, I went with the following paint scheme:
- For the base, Testors 1238 “Gloss Grey”.
- A few generous spritzs of Testors FS 36251 “Navy Aggressor Grey”, which is a darker grey.
- A light spritz of Testors 1249 “Flat Black”.
- A light spritz of Testors 1246 “Gloss Metallic Silver”, for a sense of crystals/metals in the stone.
- A light spritz of Testors 1203 “Gloss Red” and Testors FS 30140 “Light Earth” (Brown) for a sense of oxidization.
- A coat of Testors “Flat Enamel”, to bring down the glossy colors to flat.
- A very light spritz of Testors “Gloss Enamel”, to bring back hints of crystals and metals in the rock.
In the end, I would have been happier with a lighter spritz of the red, or a darker red. All said, I’m pretty pleased with how it came out as a first-timer with these techniques.
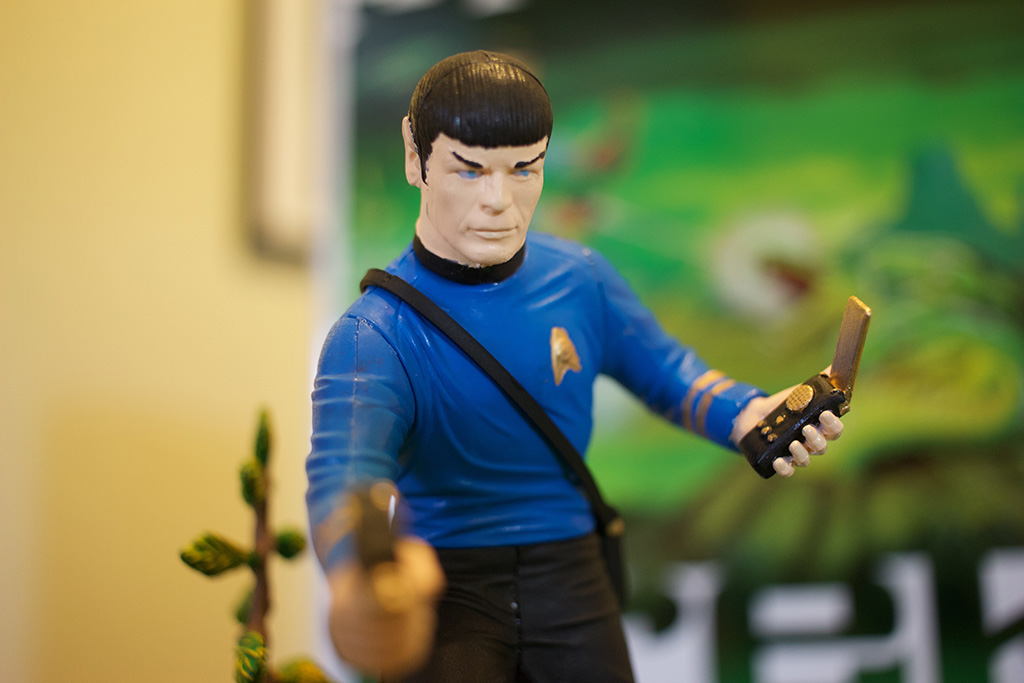
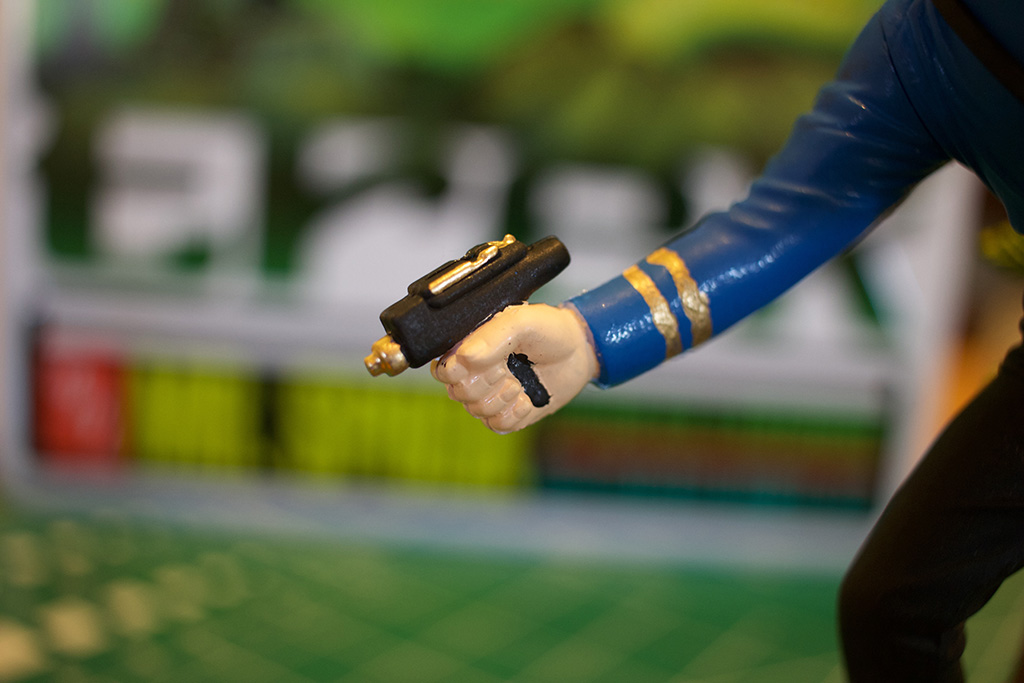
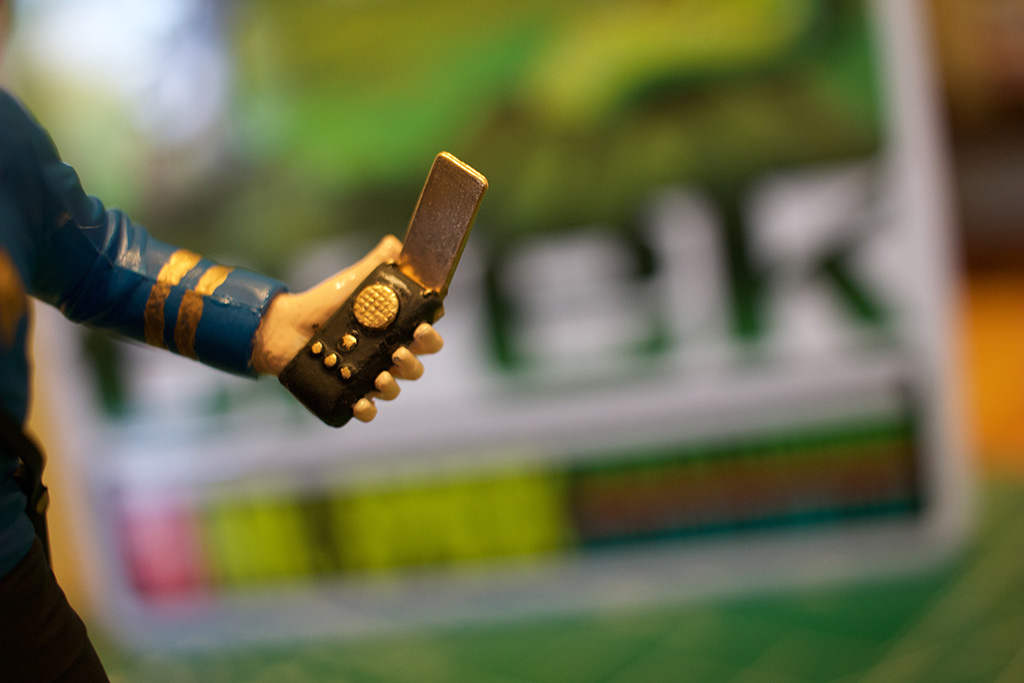
Mr. Spock from the “Mr. Spock” model kit.
For Mr. Spock, himself, I stayed pretty much with the suggested paints. For the uniform blue, I went with Tamiya Color’s TS-44 “Brilliant Blue”, which ended up being darker and much more glossy than I wanted. A coating of Testors Flat Enamel eliminated the glossiness, and made the color an acceptably lighter blue. The pants are Testors 1249 “Flat Black”, and the boots are the same, but also adding a coat of Testors Gloss Enamel – Spock polishes his boots.
The details on the body are hand painted, and, aside from a small ‘oops’ here and there, I like how Mr. Spock came out.
Against a 3-headed space serpent, let’s put that phaser on “Kill”…
“Spock, this is Kirk. Why are you fighting a giant snake instead of me?!”
For the 3-headed space serpent, I stuck pretty close to the recommended paint scheme. For the top, I picked:
- A base of Testors 1224 “Gloss Green”.
- A few generous spritzes of Testors FS 34102 “Medium Green”
- For the serpent’s underside, Tamiya Color’s TS-32 “Camel Yellow”.
- A coating of Testors Gloss Enamel for the whole thing.
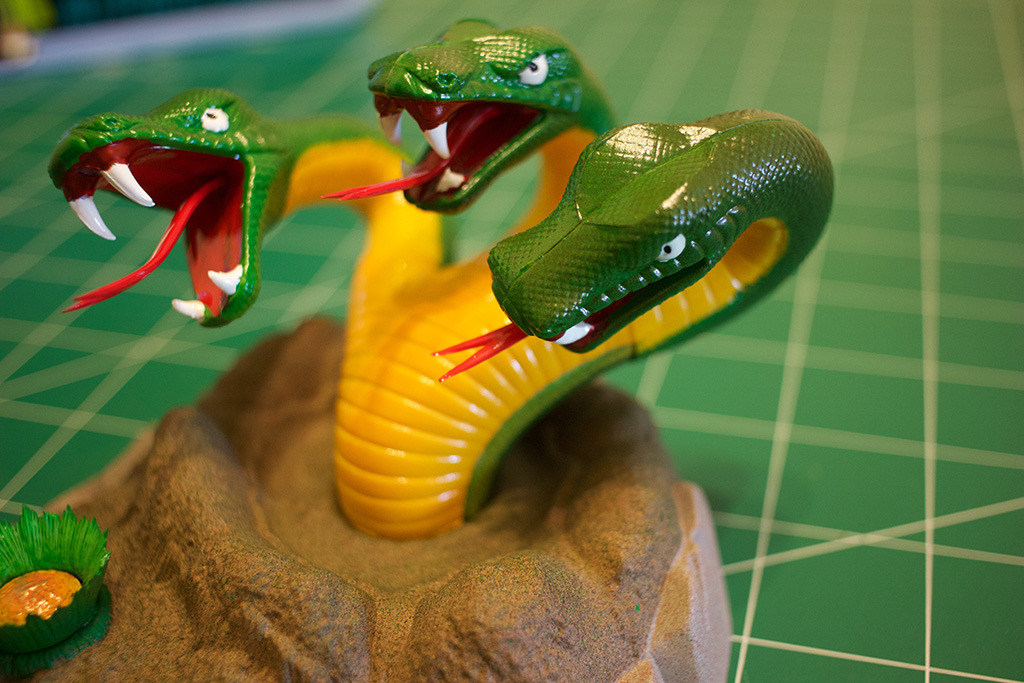
The 3-headed space serpent from AMT’s “Mr. Spock” model kit.
I had a really good time building AMT’s “Mr. Spock of the USS Enterprise” model1 model, much more so than I did when I was a kid. The kit gave me a great opportunity to learn new painting techniques, that I am excited to stretch with future builds. At $30, the kit is certainly not as cheap as the Klingon Battle Cruiser deal I was able to get. Even still, it’s a fun model to build, and can give you a cool memento when completed.
Pros:
- Detailed and well molded model kit.
- Will challenge and perhaps improve your modeling skills.
Cons:
- You’ll need to buy a lot of different paints to finish the build.
- A little more expensive than other Star Trek models.
Verdict = Recommended.
Share this Article

References
| ↑1 | Amazon Referral Link |
|---|
Discover more from Geekometry
Subscribe to get the latest posts to your email.


